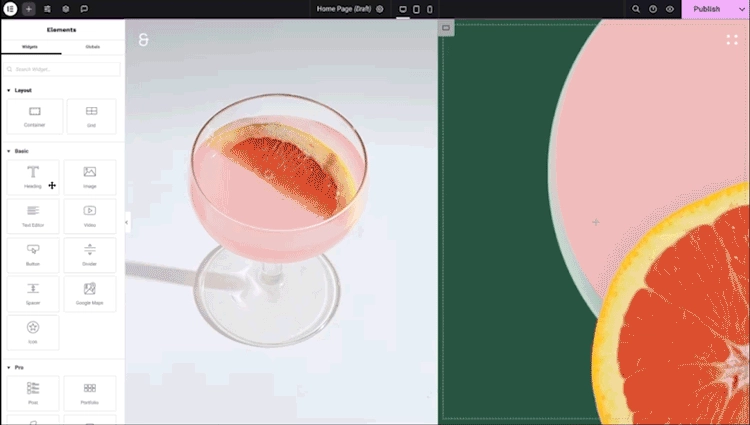
Elementor for Beginners: Installation, Interface Overview, and Key Features Overview
In this video, I provide an overview of Elementor, demonstrating how to install it on an existing WordPress website. I also guide you through setting up global fonts and colors, explain the concepts of containers and grids, and showcase the use of several elements available in the free version of Elementor. I will continue to add more changes as time progresses!
If you’ve been building WordPress sites for any amount of time, you’ve probably heard of Elementor. It’s one of the most widely used page builders out there. In this guide I am going to show you how to get Elementor setup for your website. Subscribe to my YouTube Channel for the latest WordPress and Elementor videos.
There are two versions of Elementor – Free and Pro.
- Elementor Free available directly in the WordPress plugin directory, no account needed
- Elementor Pro paid plan, purchased through Elementor’s website, unlocks the features that actually make it worth using
Out of the box, the free version gives you basic widgets and drag-and-drop editing. It works, but you’ll hit a ceiling fast if you need things like forms, popups, custom headers and footers, or WooCommerce integration. Those are paid features part of the Pro plan.
If you’re building anything beyond a simple blog or landing page, I highly recommend going with the Pro plan.
First step is to Purchase Elementor Pro
Go to elementor.com and click Get Started or Pricing. You’ll see a few plan options.
- Essential which is good for 1 site. Good if you’re just building your own site.
- Advanced which is good for 3 sites. Better if you’re managing a handful of projects.
- Expert / Agency which has higher site limits, useful for freelancers managing multiple clients.
If you’re just getting started, the Essential plan is fine. You can upgrade later if you need more licenses. Once you choose a plan, go through the checkout process. You’ll create an Elementor account (or log in if you already have one) and complete payment.
After checkout, you’ll land in your Elementor dashboard at my.elementor.com. Keep that tab open—you’ll need it in a minute.
Download the Plugin
In your Elementor dashboard, go to Subscriptions or My Licenses.
You’ll see your active license. From there, you can download the Elementor Pro .zip file directly.
A couple of things to know here:
- You don’t need to separately download the free version first—the Pro plugin includes everything
- The
.zipfile is what you’ll upload to WordPress, so don’t unzip it
Keep the license key visible too. You’ll need it during activation.
Install Elementor Pro on WordPress
Head over to your WordPress admin panel.
Go to Plugins → Add New → Upload Plugin.
Click Choose File, select the .zip you just downloaded, then click Install Now.
Once it installs, click Activate Plugin.
At this point, WordPress will activate the plugin but you won’t have full Pro access yet—you still need to connect your license.
Activate Your License
After activation, you’ll see an Elementor notice in your dashboard asking you to connect your license.
Click Connect & Activate, or go to Elementor → License in the sidebar.
Enter your license key (the one from your Elementor dashboard) and hit Activate.
If everything goes through, you’ll see a confirmation that your license is active. That’s it—you’re in.
Verify Your Pro License Is Installed
Before you start building, take 30 seconds to confirm everything is working.
Go to Elementor → System Info. This page tells you whether your server meets Elementor’s requirements—things like PHP version, WordPress version, and memory limits.
The two things to pay attention to:
- PHP version — Elementor recommends 7.4 or higher. If you’re on something older, you’ll want to update that through your hosting control panel.
- WordPress Memory Limit — 256MB is recommended. If yours is lower, you may run into issues with complex pages. Your host can usually increase this, or you can add a line to your
wp-config.phpfile.
If System Info shows mostly green, you’re set.