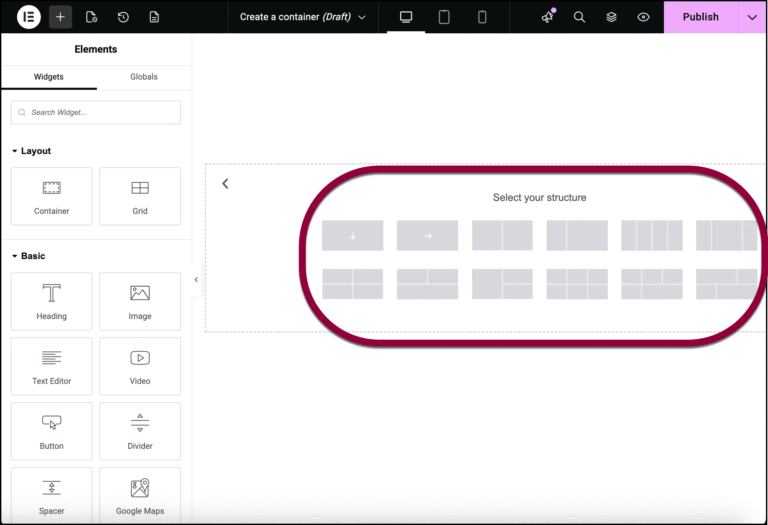
If you’re going to use Elementor, you need to understand containers. They’re the foundation of how Elementor builds layouts. Once you get how containers work, everything else in Elementor starts to make sense.
Here’s the basic idea: a container is a box that holds your content. That’s it. You put text, images, buttons, or other elements inside it. You can then control how that box looks and where it sits on the page.
But it goes deeper than that. In Elementor, containers can hold other containers. So you might have a large container that spans the width of your page, and inside that, you have smaller containers arranged side by side. Each of those smaller containers can hold text, images, or their own nested containers.
This nested structure is how Elementor creates layouts.
How Elementor Structures Pages
When you start a new page in Elementor, you’re working with a canvas. Everything you build on that canvas lives inside containers.
Think of it like Russian nesting dolls. You have a large outer container (often called the body or section container) that wraps the entire page. Inside that, you add smaller containers. Inside those, you add even smaller ones. Each level can have its own styling, spacing, and content.
From a practical standpoint, this means you’re always thinking in terms of boxes within boxes. Your page is made of containers. Those containers are made of smaller containers. Those contain your actual content like text and images.
The reason Elementor works this way is because that’s how web pages are actually built underneath. If you’ve ever looked at a website’s HTML code, it’s nested elements all the way down. Elementor just gives you a visual way to understand and build that structure without writing the code yourself.
Adding and Working with Containers
When you open Elementor on a blank page, you see an empty canvas. To start building, you add your first container.
In the left panel, you’ll see the widget library. Look for the container widget (it’s usually one of the first options). Click it and drag it onto your canvas. Now you have a container on your page.
Once the container is there, you can add content to it. You can click inside the container and add text, images, or more containers. Each piece of content goes inside this box.
You can also style the container. On the right panel, you’ll see styling options. You can change the background color, add padding (space inside the box), set the width, or adjust the height. Whatever you change affects that entire container and everything inside it.
Here’s the practical workflow: you add a container. You put content in it. You style it. Then you move on to the next one. Repeat that process to build your page structure.
Thinking About Containers Visually
The easiest way to understand containers is to think about them as visible boxes on your page.
Imagine you’re designing a page. You start with a header section at the top. That header is a container. Inside that container, you might have a logo (one container) and navigation (another container) sitting side by side.
Below the header, you have a hero section. That’s another container. Inside it, you have text on the left and an image on the right. Both of those are containers too.
Below that, maybe you have a three-column feature section. That’s a container holding three smaller containers arranged horizontally. Each of those three containers holds content like an icon, a heading, and some description text.
Your entire page is made of these stacked and nested containers. Each one has its own styling, spacing, and content. When you understand this visual structure, you understand how Elementor builds pages.
Containers and Page Structure
Here’s where understanding containers matters for the bigger picture: containers determine the layout and structure of your page.
If you want a two-column layout, you create a container and put two child containers inside it side by side. If you want three columns, you put three inside. If you want a single full-width section, you use one container that spans the entire width.
Containers also control spacing and alignment. When you set padding on a container, you’re creating space between the content and the edge of the container. When you set margins, you’re creating space between one container and another.
This is different from just styling individual elements. A container gives you a structural unit that you can control as a whole. You’re not styling a single button or image. You’re styling an entire section of your page.
The key insight is this: before you start adding content in Elementor, you should think about what containers you need. Do you need a header container? A hero container? A features container? A footer container? Once you map out your containers, adding content is straightforward.
Different Types of Containers
Elementor has a few different container options, and understanding the difference is useful.
The standard container is what you’ll use most of the time. It’s flexible and works for most layouts. You add it, put content in it, and style it however you need.
There’s also the section container, which is essentially the older way Elementor used to handle layouts. You might see sections in some templates or older pages. They work similarly to containers but with slightly different naming and options. For new builds, containers are the modern approach.
You don’t need to worry about the technical differences between them right now. Just know that both exist, and containers are the current standard.
What Happens When You Nest Containers
One of the powerful things about Elementor is that you can nest containers inside containers.
For example, you might have a full-width container that’s your main section. Inside that, you have two containers side by side, one for an image and one for text. Inside the text container, you might have smaller containers for a heading, a paragraph, and a button.
Each container can have its own styling. The outer container might have padding and a background color. The inner containers might have different spacing or borders. This gives you fine-grained control over your layout without needing to understand complex code.
The visual hierarchy of your containers matches the visual hierarchy of your page. The larger sections of your page are larger containers. The smaller pieces of content are smaller containers nested inside them.
Starting Simple
If you’re new to Elementor, the best approach is to start with simple container structures and gradually add complexity as you get comfortable.
Create a one-container page first. Add some text and an image inside it. Style it. Get a feel for how containers respond to your changes.
Then try a two-container layout. Add a container, put another container inside it, and arrange them side by side. Play with the spacing and sizing.
Once you’re comfortable with basic nesting, you can build more complex layouts.
Next Steps
Now that you understand what containers are and how they structure your page, the next step is learning how to actually arrange and control them. That’s where layout tools come in.
In the next article, we’ll talk about flexbox. This is the system Elementor uses to position containers relative to each other. Understanding flexbox is what lets you move from “I have containers” to “I can build actual layouts.”