To enable AutoSSL in cPanel, log in to your cPanel account, go to SSL/TLS Status in the Security section, select the checkboxes next to the desired domains, and click Run AutoSSL. The process automatically issues and installs a free SSL certificate for the selected domains and can take a few minutes to an hour to complete.
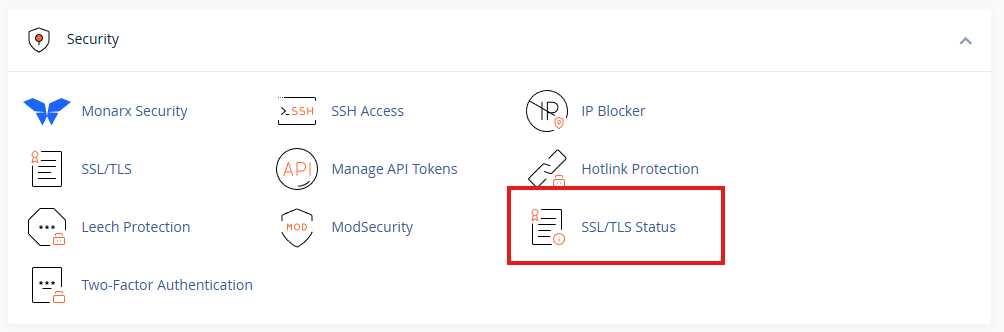
Click “SSL/TLS”
Next, you’ll see a list of all your domains. Select both the www and non-www versions of your domain to make sure AutoSSL covers them both. Then click “Run AutoSSL.” After a few minutes, your domain should display the padlock icon and load with https in the browser.