Learn how to manually migrate a WordPress website using cPanel in 2025 — completely free and with no plugins required. In this step-by-step tutorial, I’ll show you the exact process I use to move a WordPress site to a new domain or hosting provider using only cPanel, FTP, and phpMyAdmin. This method works for ALL WordPress websites and is the same approach used by hosting professionals.
What you’ll learn:
✅ How to migrate WordPress manually (no plugins)
✅ How to add your domain in cPanel
✅ How to enable AutoSSL
✅How to export/import the database
✅How to download WordPress files via FTP
✅How to upload/extract files on the new host
✅How to update wp-config.php with new database details
✅When to update wp_options (only if domain changes)
✅How to fix permalinks after migration
✅How to resolve the “Index of /” issue
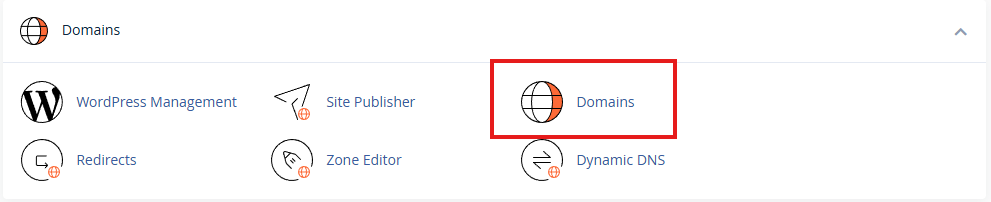
Add Your Domain to cPanel on the Destination Server (Do Not Install WordPress)
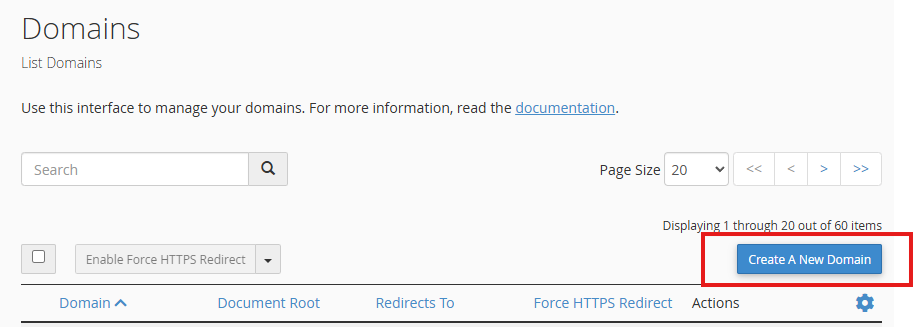
Before beginning the migration, log in to your destination hosting account and add your domain under the Domains or Addon Domains section. This creates the correct folder structure where your WordPress files will be stored. Do not install WordPress on this domain, since you will be moving your existing installation.
cPanel > Domains
Click “Create a New Domain“
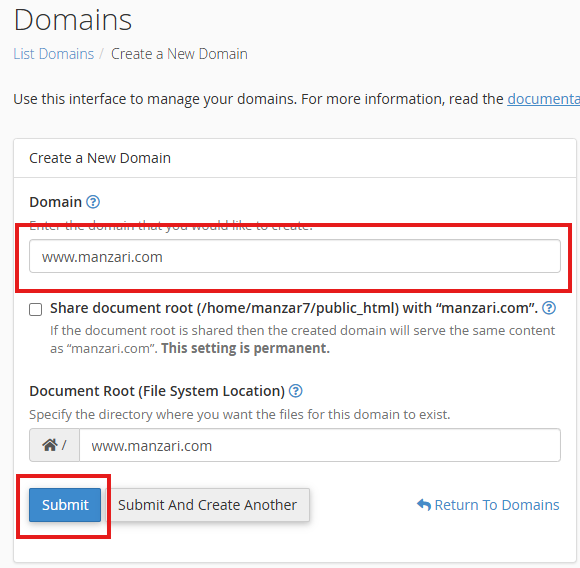
Enter your domain or subdomain and click “Submit“
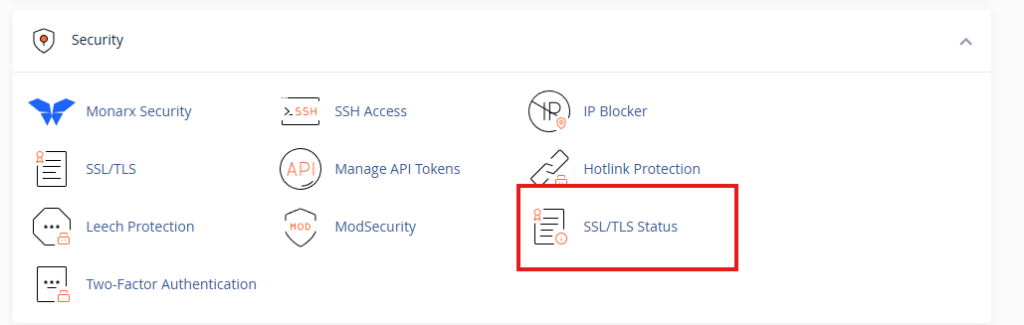
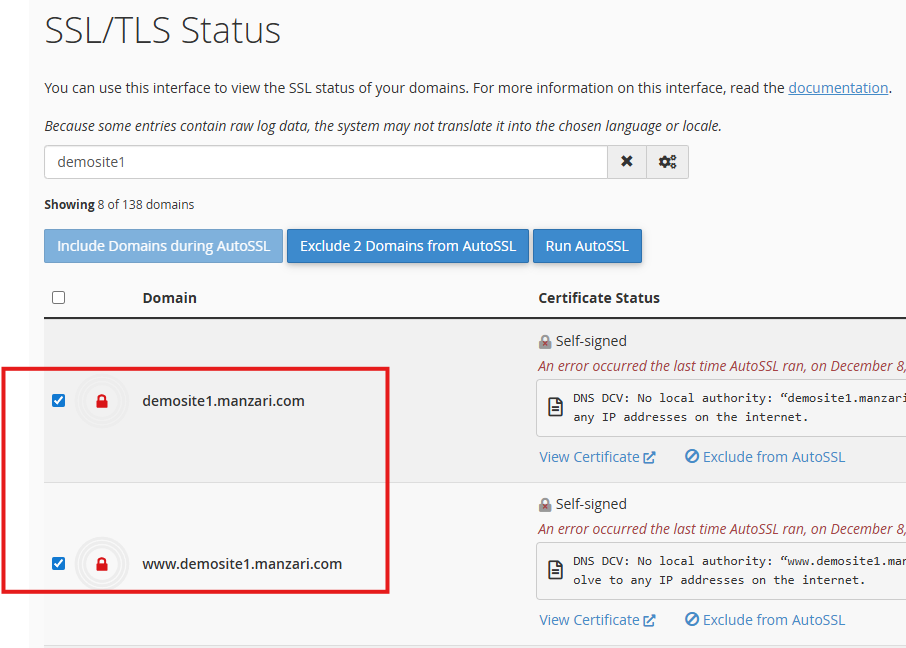
Enable AutoSSL So the New Domain Loads Securely
After adding the domain, go to SSL/TLS and enable AutoSSL. This ensures your site loads securely over HTTPS once the migration is complete. Some hosts issue SSL automatically, so this step may already be done.
Security > SSL/TLS
Find your domain in the list, check off both versions (non-www, and www versions) and click “Run Auto” SSL button.
Create FTP Credentials on the Destination Server
Create an FTP account in cPanel under FTP Accounts. This will be used to upload your WordPress files to the new hosting environment. Make sure the FTP user has access to the correct domain directory.
Create a New Database and User, Then Assign All Privileges
Go to MySQL Databases and create a new database. Then create a new MySQL user and assign all privileges. Save this information, as it will be needed when updating the wp-config.php file later.
Create an FTP Account on the Original Website
Create or use an existing FTP account on your original hosting provider. This will allow you to connect via FileZilla and download your current WordPress installation.
Export the Database From phpMyAdmin
Open phpMyAdmin on the original server, select your site’s database, and use the Export option. Choose Quick and SQL to download the full database to your computer.
Use FileZilla to Download All WordPress Files to Your Computer
Connect to your original server using FTP. Navigate to the root folder where WordPress is installed and download all files, including wp-admin, wp-content, wp-includes, and all PHP files such as index.php and wp-config.php.
Zip the Files, Upload Them to the New Server, and Extract Them
Once all files are downloaded, compress them into a single ZIP file. Log into your destination server’s File Manager, upload the ZIP to the root folder, and extract it. This restores the full WordPress installation quickly and efficiently.
Update wp-config.php With the New Database Name, User, and Password
Open wp-config.php on the destination server and update the database name, username, password, and host values. These should match the database you created earlier. This allows WordPress to connect to the new database.
Import the Database Into phpMyAdmin on the New Server
Go to phpMyAdmin on the destination server, select the new empty database, and choose Import. Upload the SQL file you exported earlier. This restores all your content, settings, and users.
If the Domain Is Changing, Update the Site URL in wp_options
This step is only required if you are using a new domain. In phpMyAdmin, go to the wp_options table and update the siteurl and home fields to reflect the new domain. If the domain is staying the same, skip this step.
Fix Permalinks After Migration
Log into your WordPress dashboard, go to Settings > Permalinks, and click Save Changes twice. This refreshes your site’s rewrite rules and resolves issues such as 404 errors or the “Index of /” directory listing appearing.